Picture requirement UPDATED no need Bragan logo to images
In order for images to be listed in the selling channels, a series of processes must be
Overview#
Purpose: In order for images to be listed in the selling channels, a series of processes must be followed. This SOP will show you the processing of photos from the raw image to the final image used in the Trello card. The purpose of this document is to outline to new and existing staff how to properly ensure to follow picture requirements and to use high-quality images.
Scope: This procedure applies to all Bragan Personnel.
Responsibility: It is the responsibility of each employee to ensure the process set out in this procedure is followed.
Objective: The objective of this procedure is:
to guide employees about Picture Requirements.
For new images that need to be taken must have all details added to the New Listing Picture Request Master file
Photographer must work from top priority on the picture request list.
Picture Taking Requirements (Raw Pictures)#
This part is for Team IRL and Product Listers. Ensure that the requirements are met before saving raw pictures in the original folder. This way picture editors won't waste time editing bad quality raw pictures. Save time on reworks.
Lighting Condition#
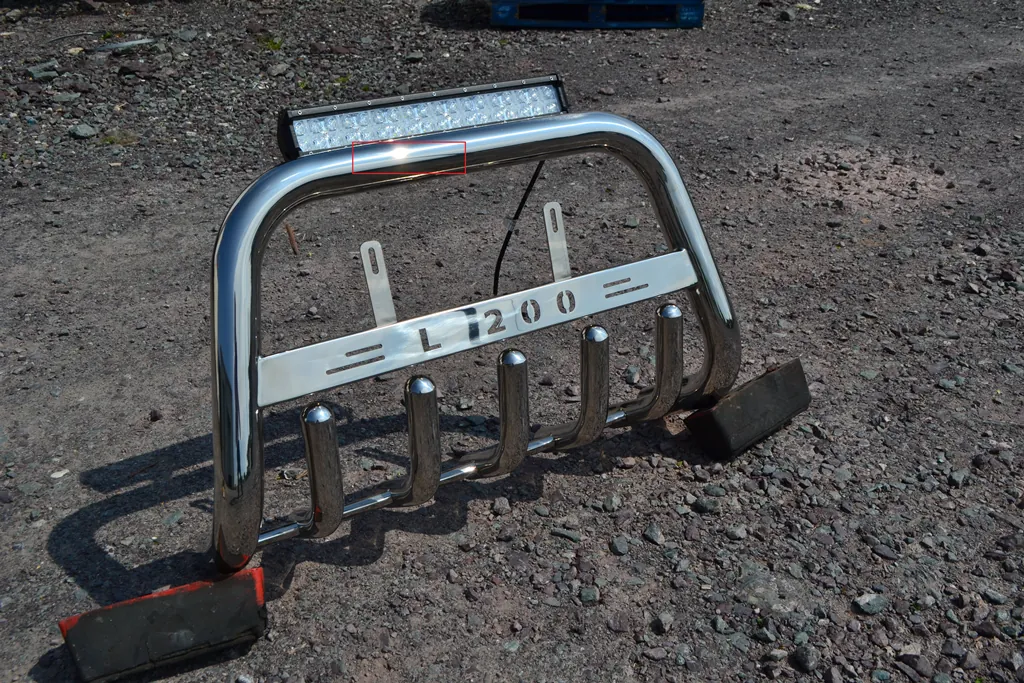
Pictures must be taken at broad daylight (good weather condition) to ensure the best quality. Taking a photo at sunset or evening is not recommended. Taking a photo at sunset will produce an orange effect on picture, which is not a good raw picture to start with. It can be edited but it requires more work than when you take it with good lighting.
Ideal is when you get to see the sunlight sparkle in the item (especially for chrome items).
Picture Background#
If possible pictures must be taken on white background especially for transparent items.
Ground or Brown box is also acceptable as long as it has good lighting conditions.
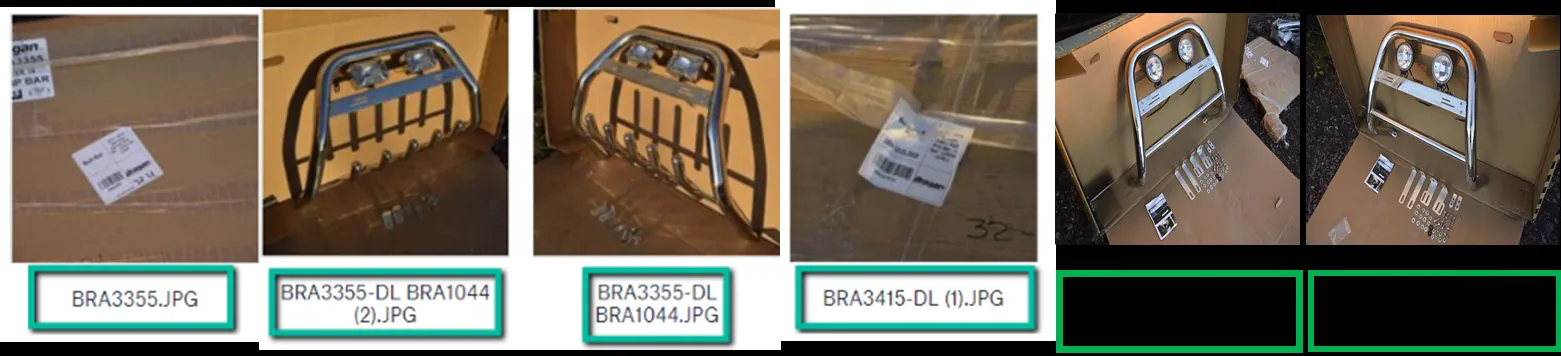
Proper Labelling#
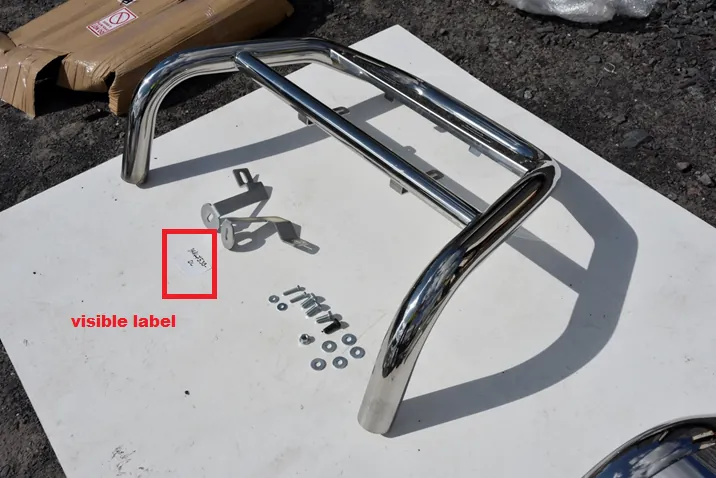
Labels must be visible in the item photos. It’s okay if the labels are small as long as it won’t blur. This will be used as a reference for the renaming of the pictures in the “Original” folder. There is no need to take a separate photo for the labels alone anymore.
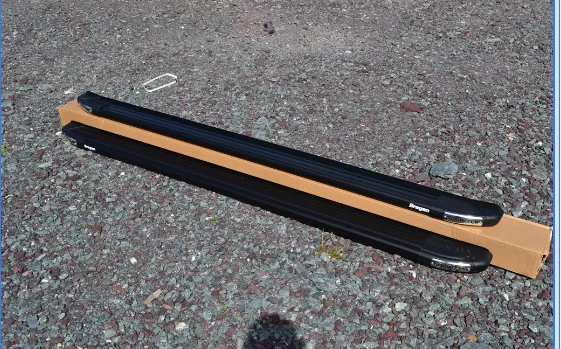
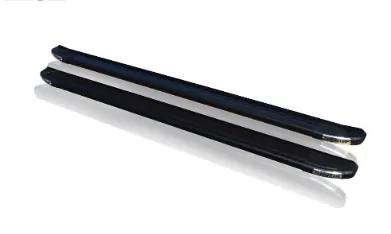
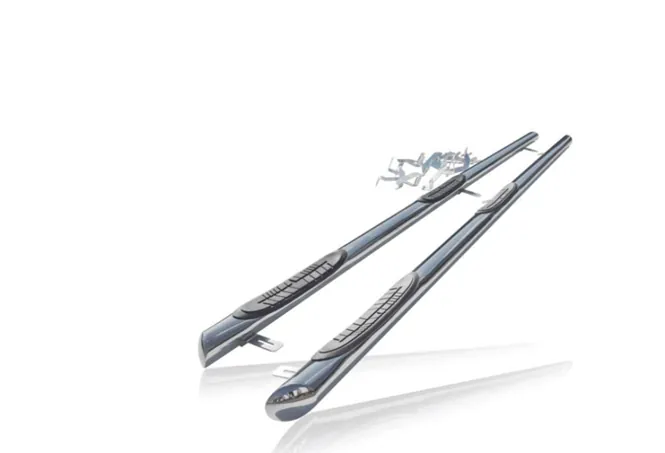
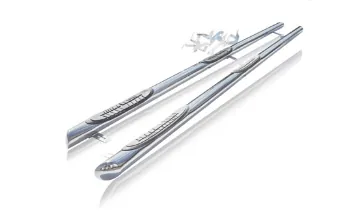
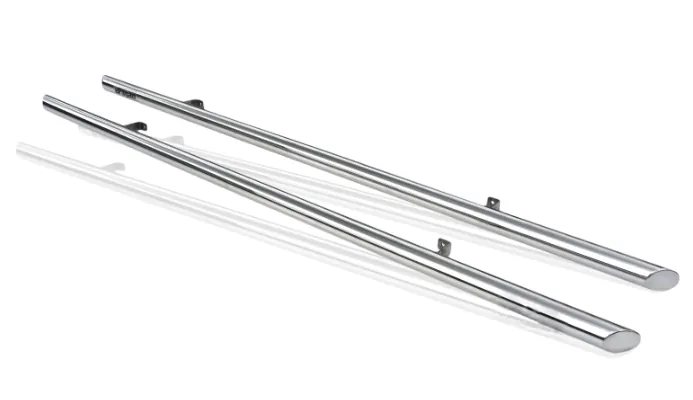
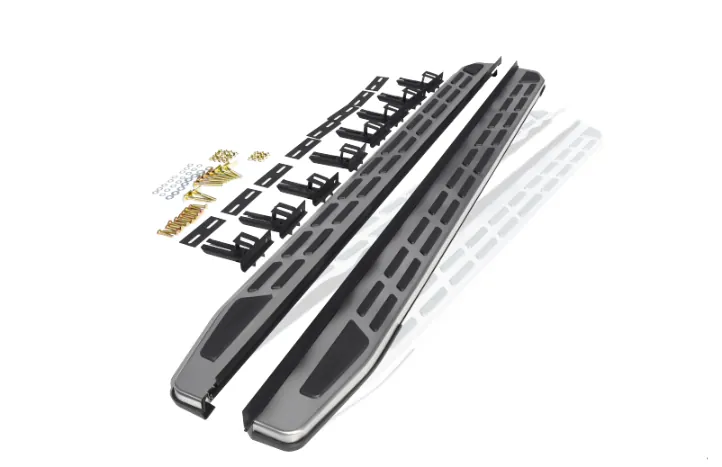
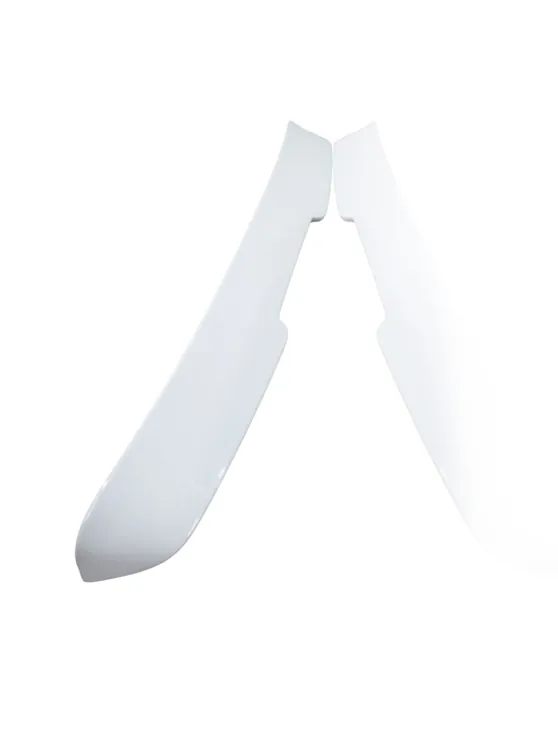
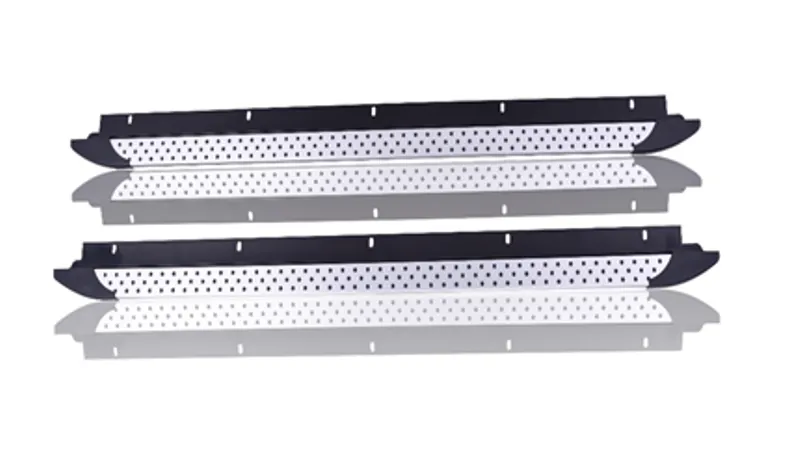
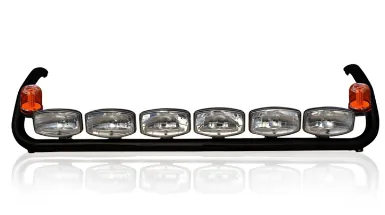
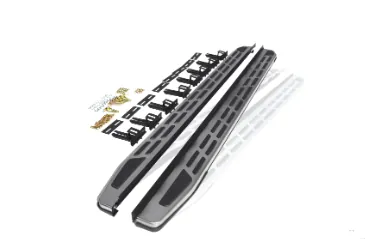
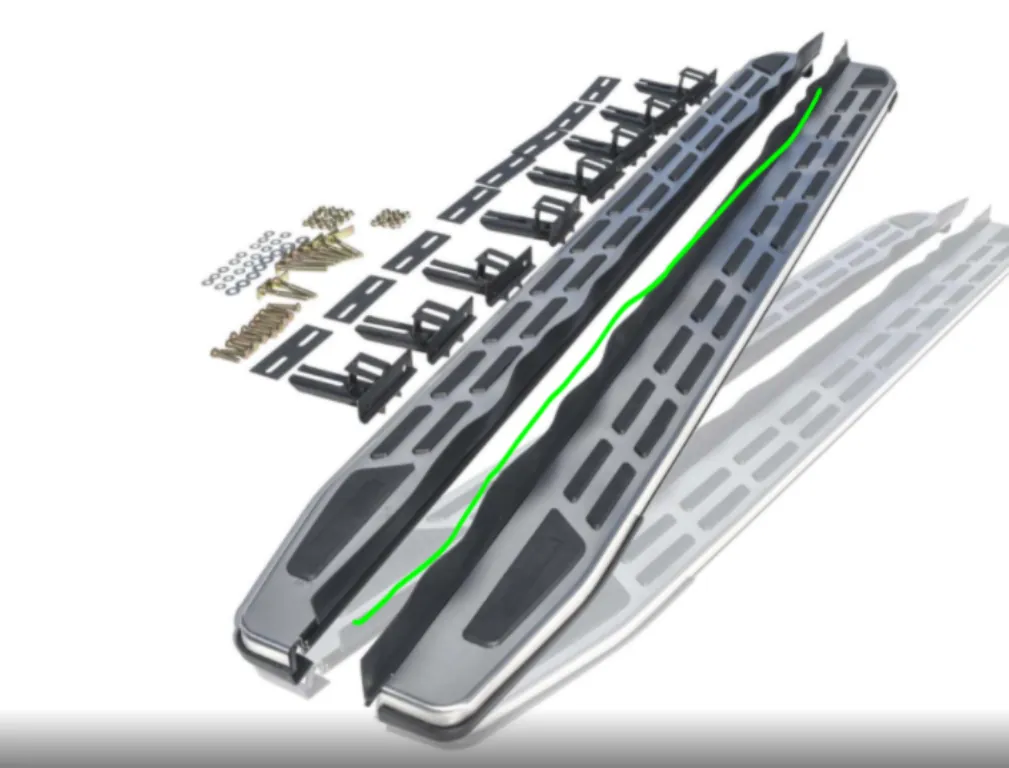
Paired Items / Set Items#
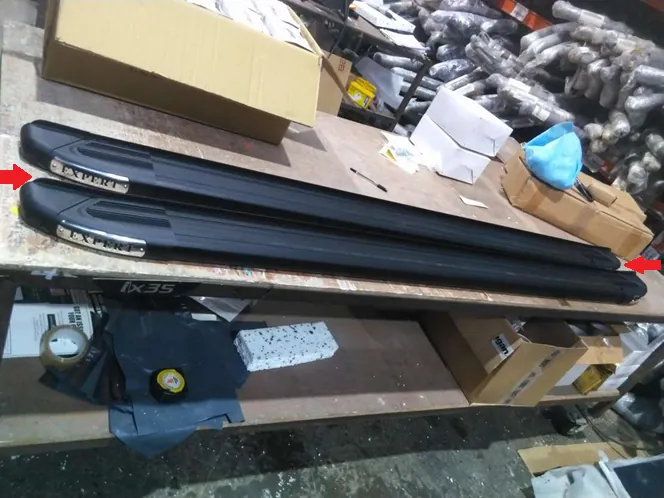
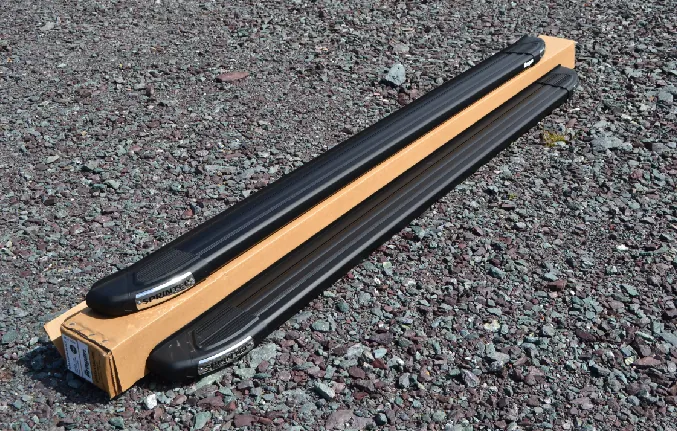
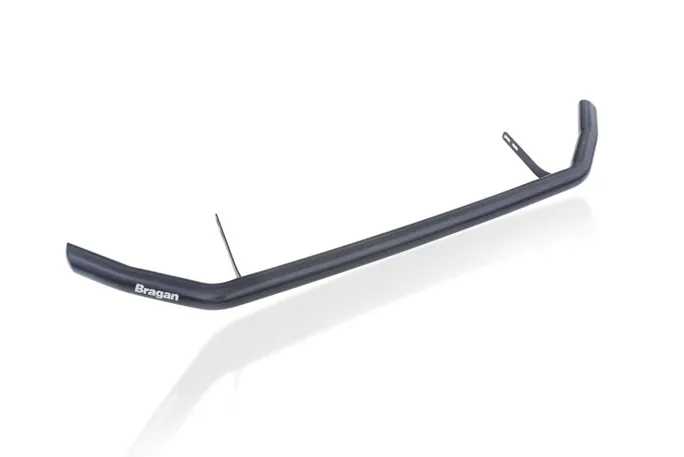
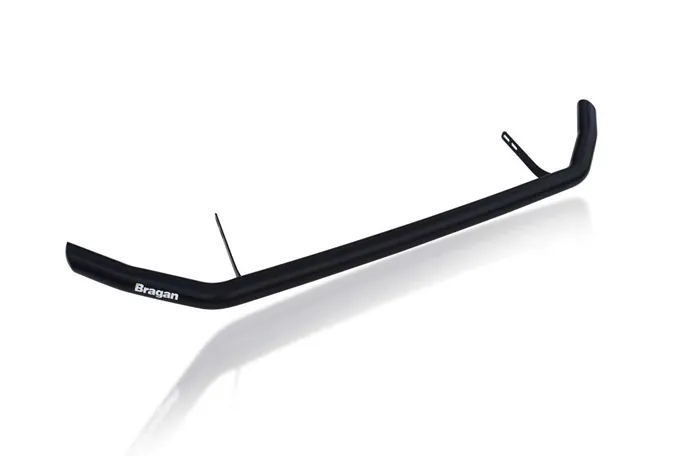
Items like running boards should be separated in image to avoid customer confusion. Each component in the set should have proper distinction.
The sample below (Figure 2) shows an edited picture already (this is just for sample purposes only since the raw picture is not found anymore). These pictures should not be accepted as raw picture since the items are not separated, customer cannot properly see the individual boards. The running boards don't look like a pair, instead it looks one item. For customers who are not familiar with our product they might think it is only one board. See Figure 3 & 4 for accepted picture for set or paired items.

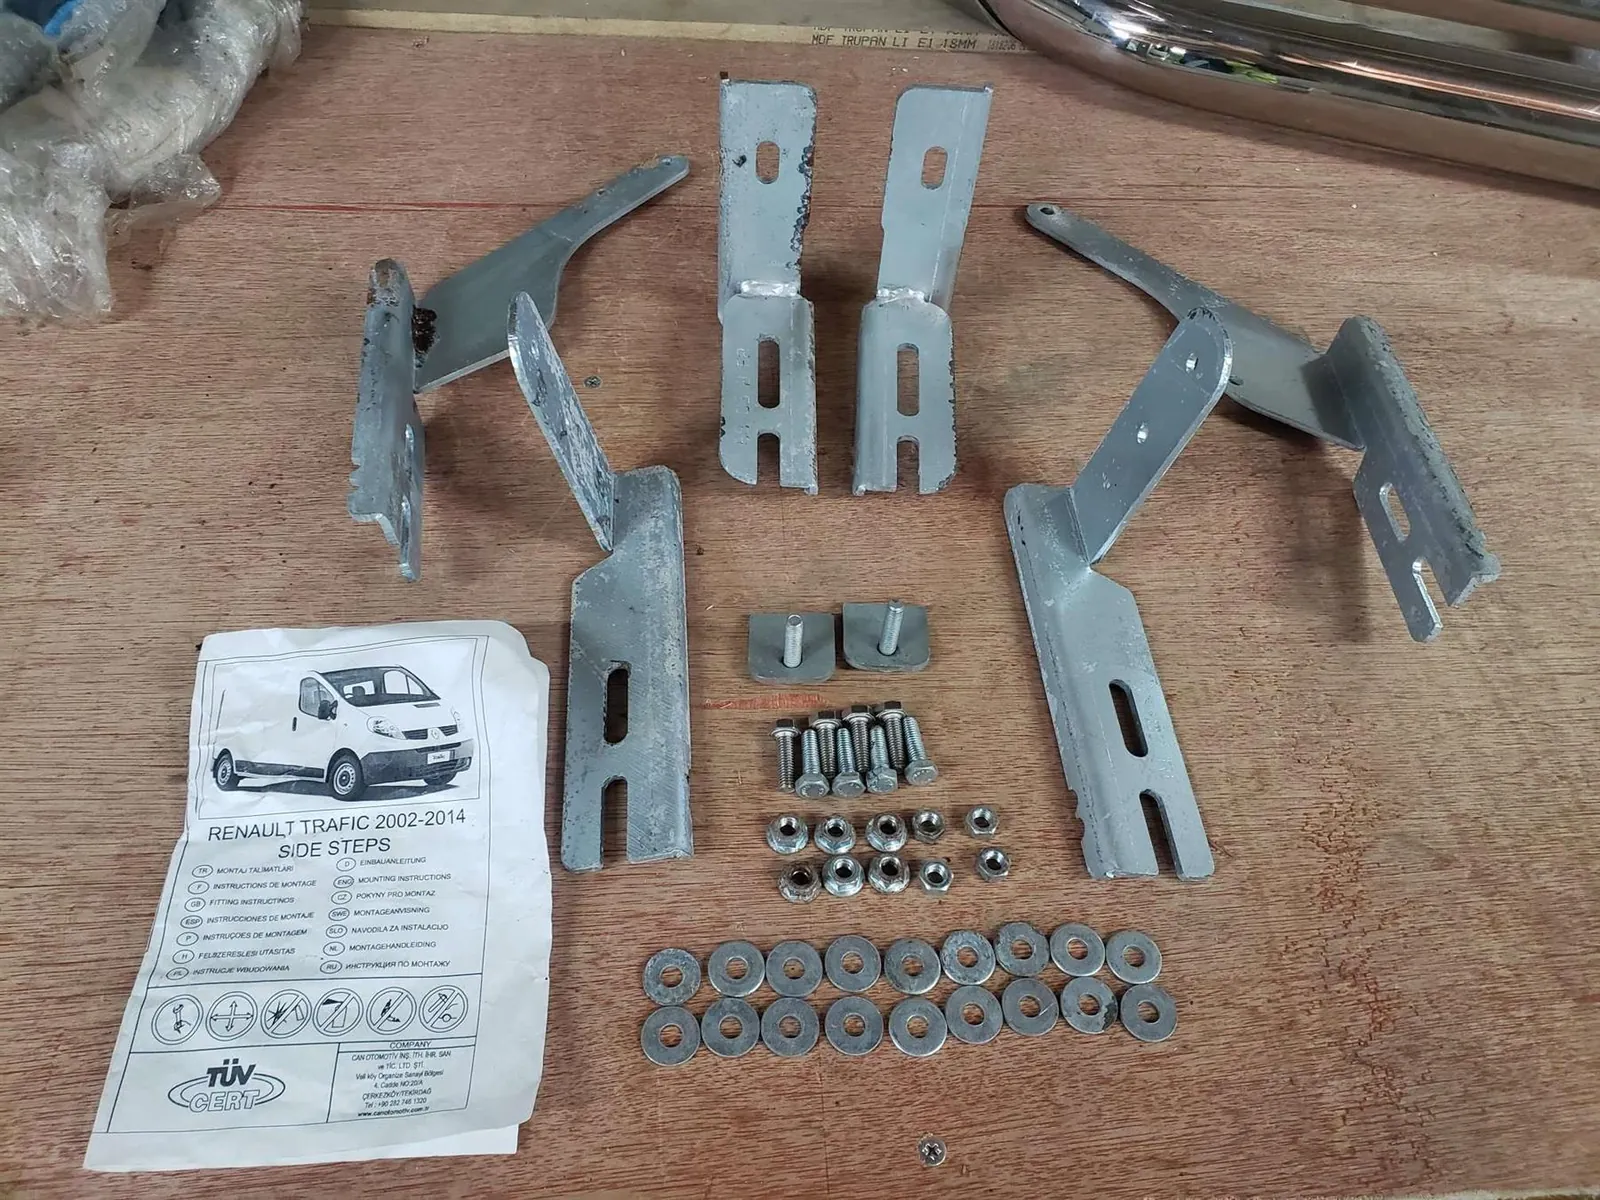
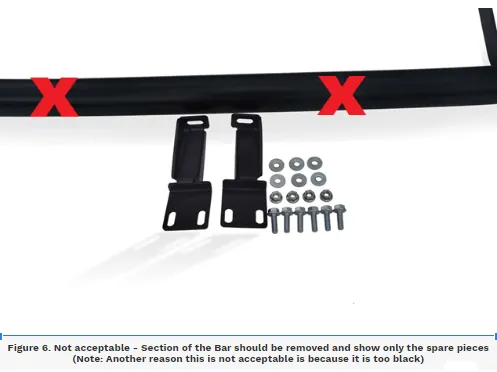
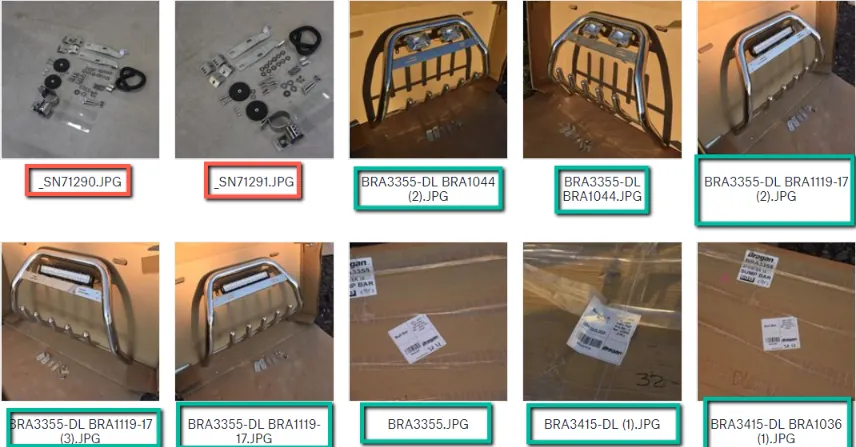
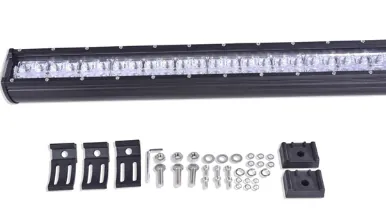
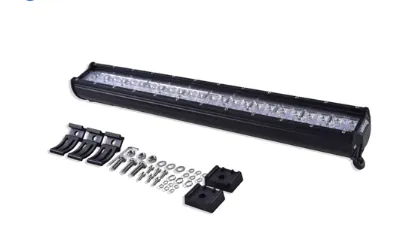
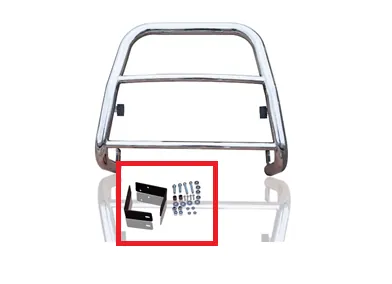
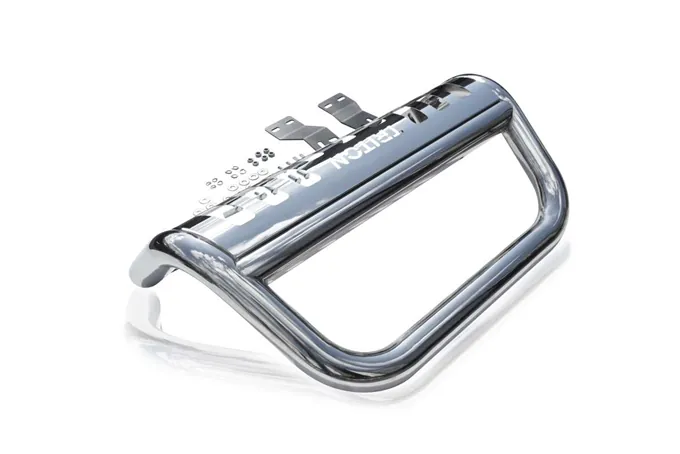
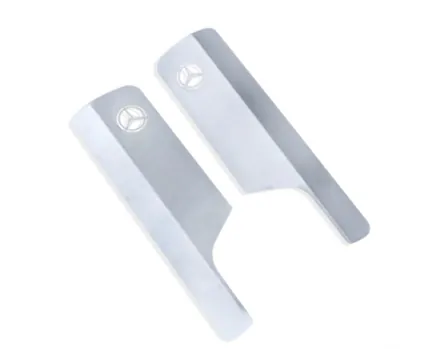
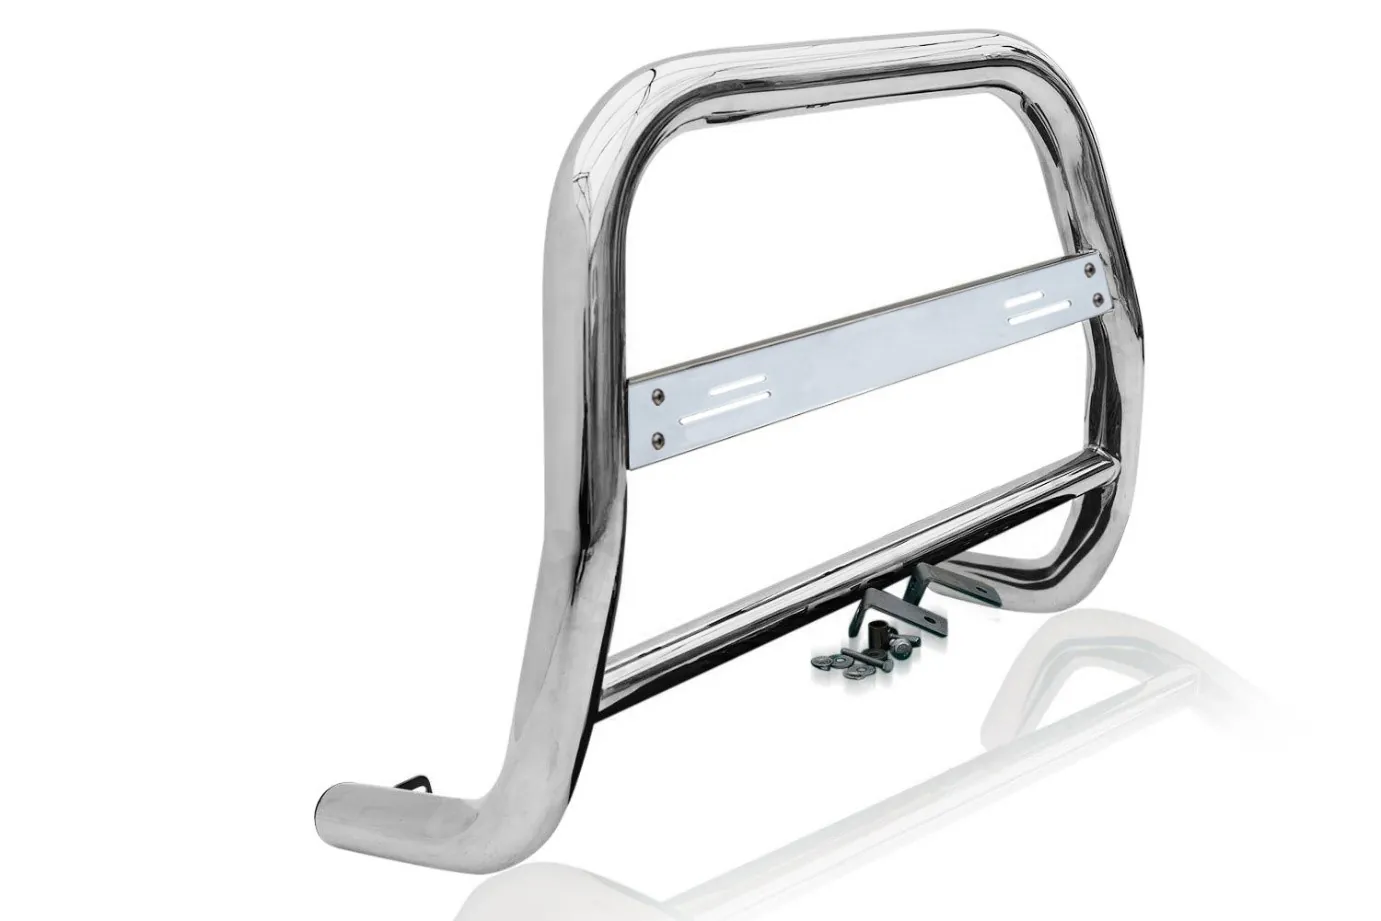
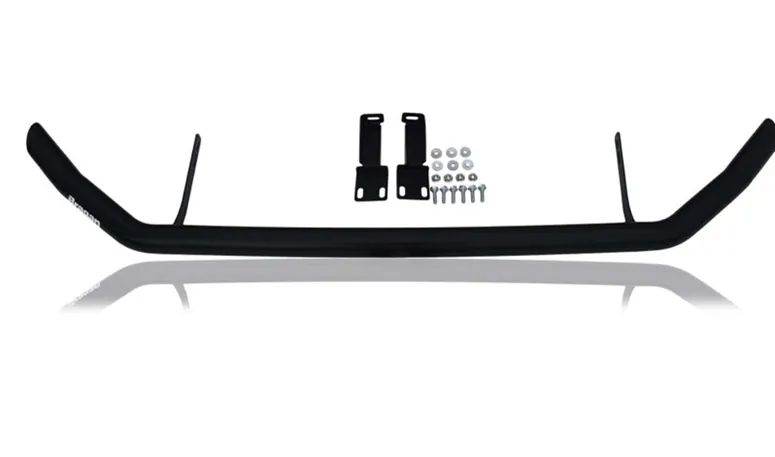
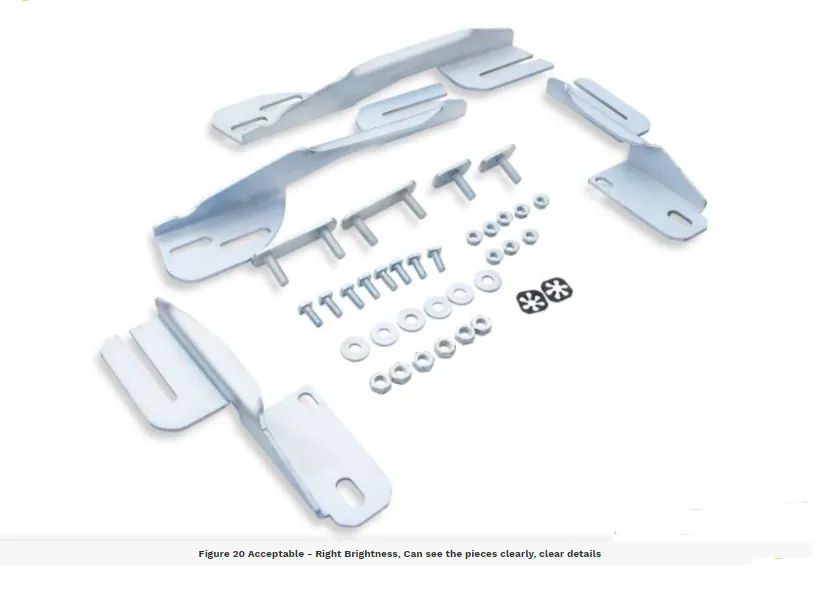
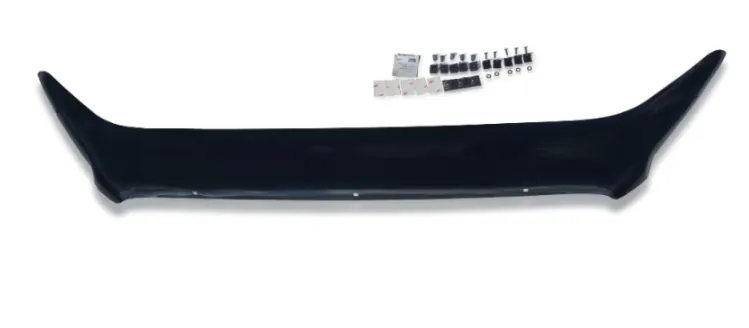
Brackets & Spare Pieces#
Brackets and Spare pieces should be laid flat in the photo, should not be put in plastic, see Figure 5. Also, do not include a section of the bar, crop it so that the brackets are the only one shown. The brackets should only be the focused, see
is label
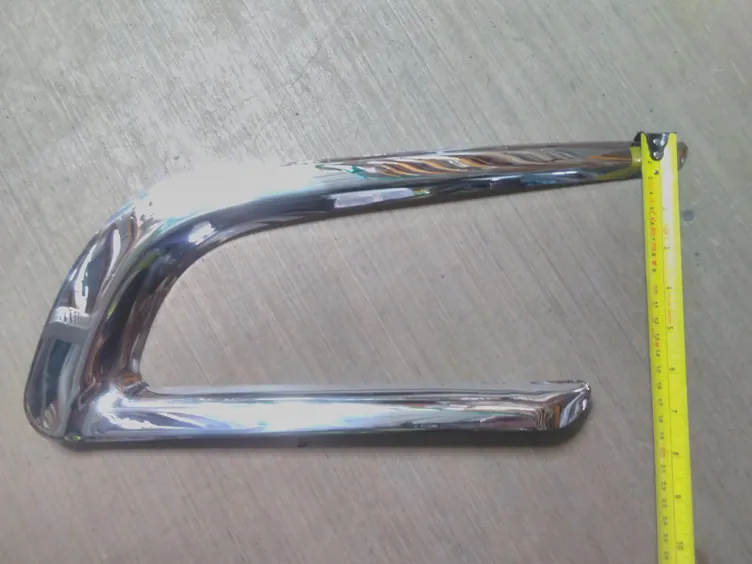
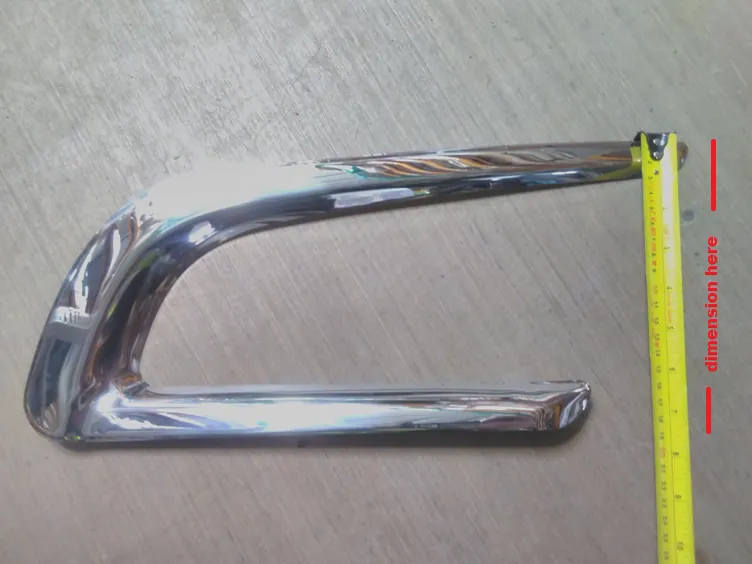
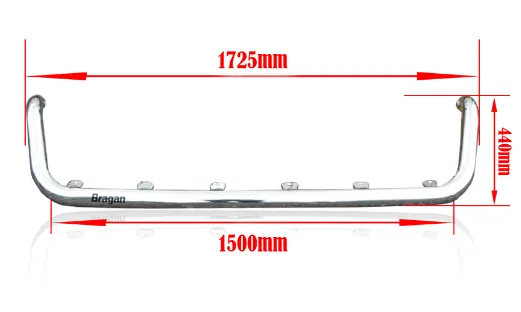
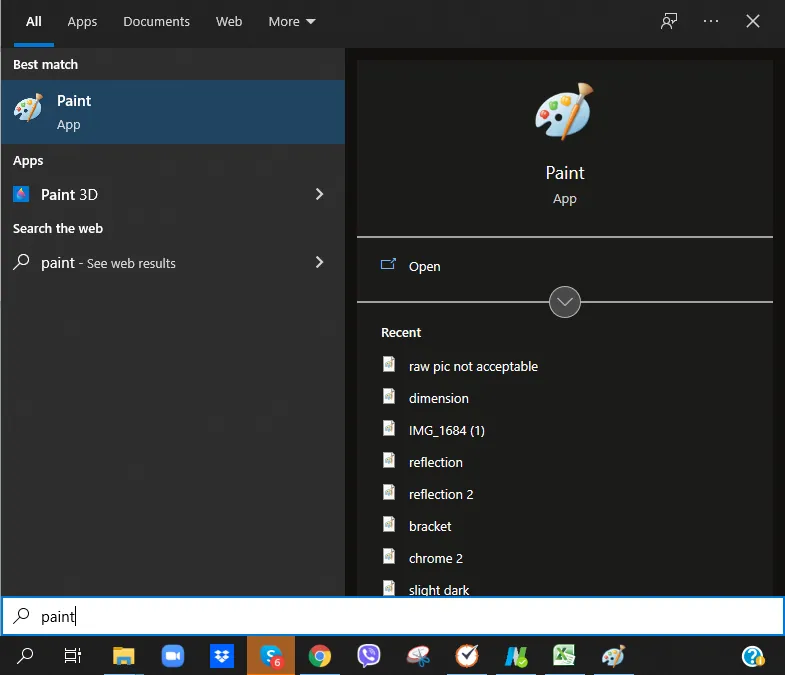
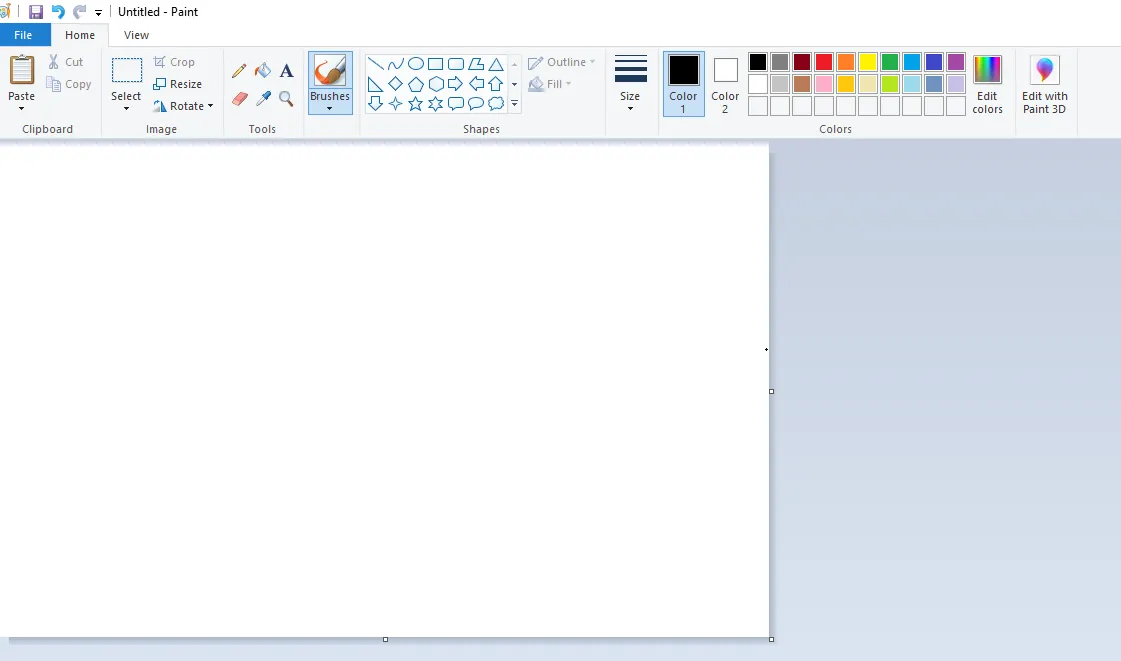
Dimension Image#
If the picture needs some dimensions, product lister can edit the raw picture in MS paint (Figure 10 & 11) or any photo editor, just add the dimension, this way the picture editor can correctly put the right dimension.
See below for a sample of an edited dimension image (Figure 9). Product Listers will provide the dimension to put in the image.
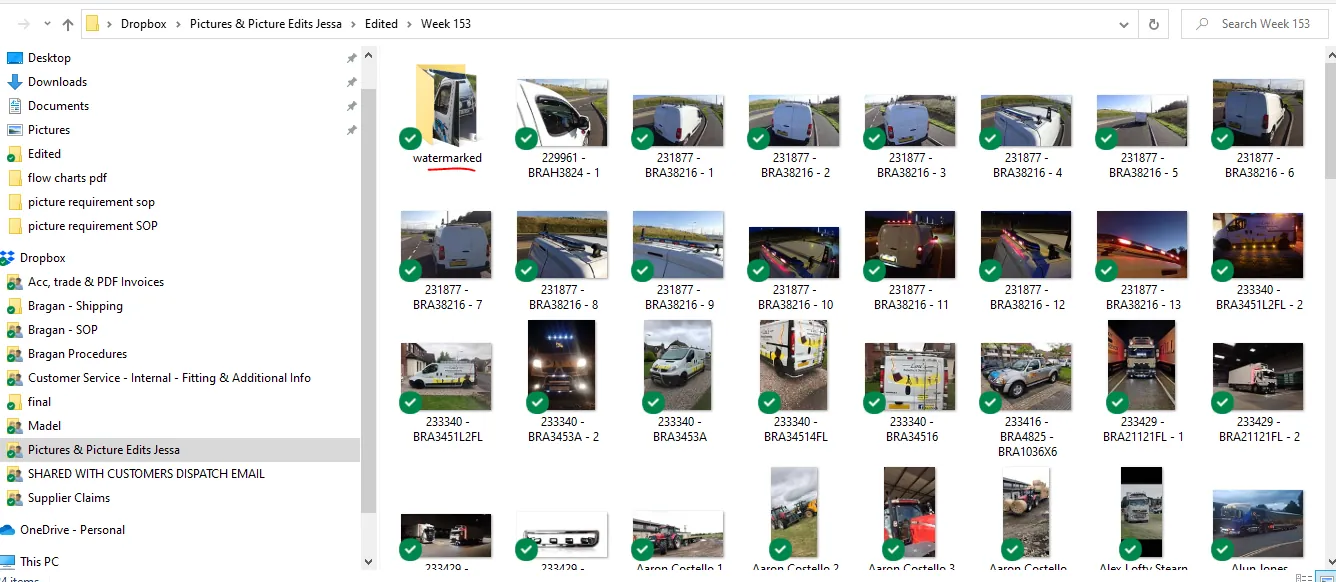
Saving Raw Pictures in Original Folder#
Notes for Team IRL and Product Lister:
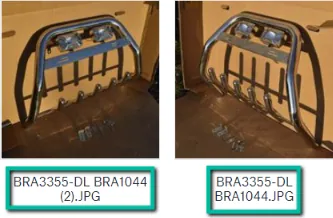
Do not upload pictures without renaming the items in this folder to correct SKUs.
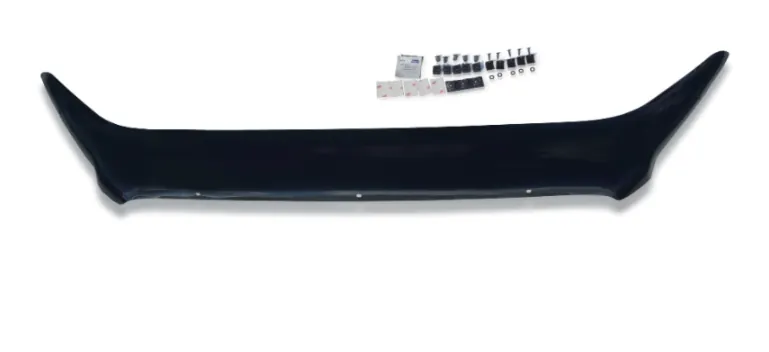
If the item has multiple SKUs make sure to rename the picture with all the SKUs. See example below, the item is a composite, a bull bar and a spot lamp, therefore filename should be the SKU of the bull bar and the spot lamp.
Filename for Composite Items
When saving the pictures in the original folder, picture flow should be label first then the following pictures would now be the items associated with the label (label then pictures, label then pictures). Please see sample below.
Save it to the latest Week Folder. Please take note that folder must contain only 60 images. If the folder has 60 images already, create a new folder.
Notes for Picture Editors:
Raw Photos are uploaded to the Original Folder
Link:
by week folders.
Editors shouldn’t process photos that aren’t renamed to correct SKU because the SKU Code will be the reference of the Listers when it comes to uploading to the live channels.
Image names shouldn’t be changed when uploading to Edited Folder unless instructed to.
Editors should make sure that every photo in a week folder is edited before proceeding to the next folder.
If there’s an image that is not renamed yet, editors should inform the lister for clarification on the picture.
Please take of the picture flow as discussed above the the pictures following the label are the pictures associated to that label.
renamed.)
Picture Edit Requirements#
This is a guide for picture editors and product listers on what are acceptable edits and not.
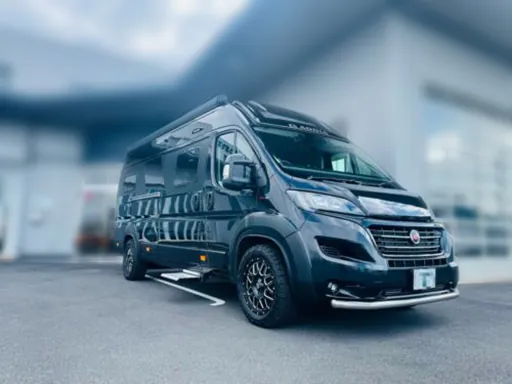
For Items/Products Fitted to Vehicle#
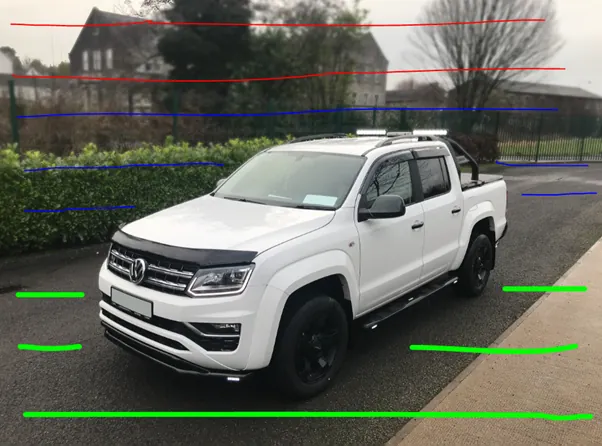
Blur Effect
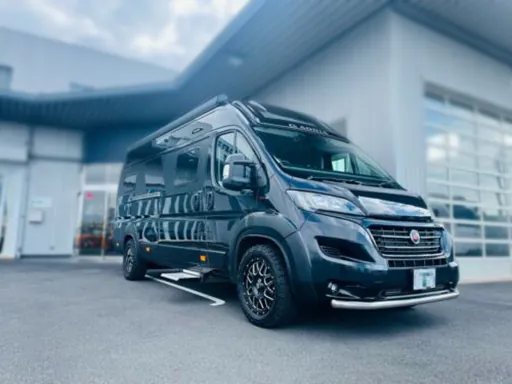
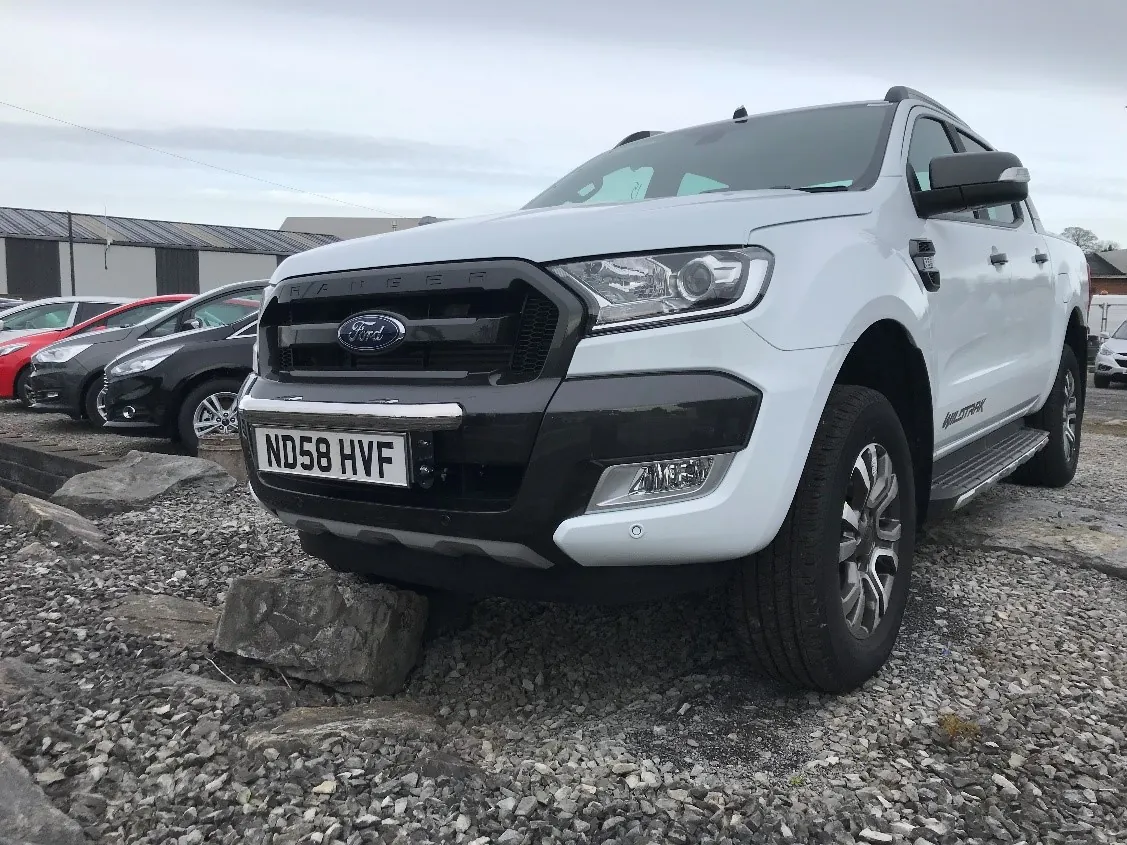
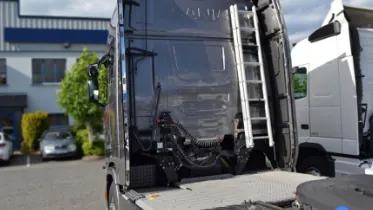
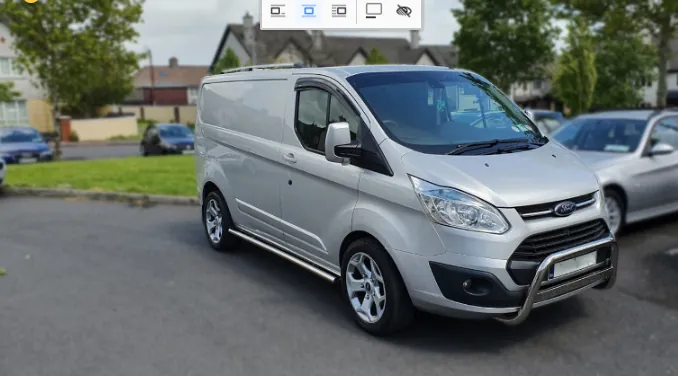
All pictures on vehicles require a blur effect like below, with gradual blur running from top to bottom, see example below. Blur should fade from red to blue to green to create a 3D effect. Green being no blur. Plate number of the vehicle should also be edited so it is not showing. Blue effect should not be too strong.
| Not Acceptable | Acceptable |
|---|---|
| Too strong blur, too blurry, background should still be slightly distinguishable | There is gradual blurring, creating 3D effect. You can still see the background |
| Figure 11 |
Original Edited (Plate Number Not Showing)
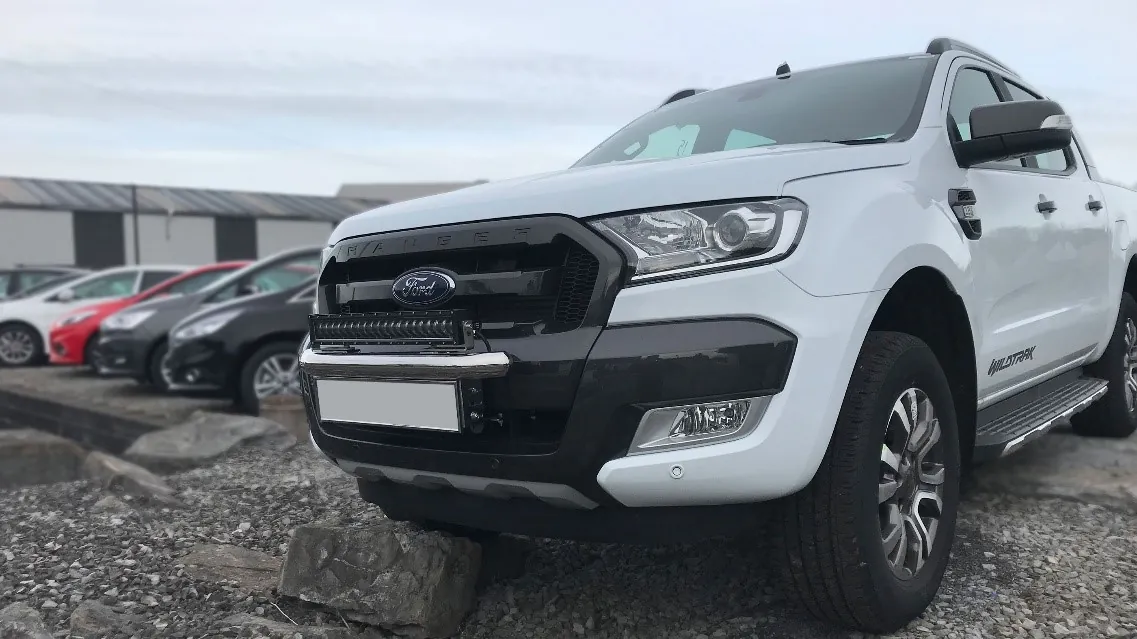
Orientation & Picture Dimension
Vehicle Image should be in landscape orientation and the product fitted to the vehicle should be identifiable. Customer should be able to see what we are selling.
Picture Dimension required: 1280 / 960 minimum.
Pictures over 4000pixels on the longest side should be saved at around 3500pixels on the longest side so the file size is not too large to upload to our web stores. Pictures below 3500pixels on the longest side should not be scaled up or image loss will occur.
The image should be saved in jpeg and not more than 10MB size.
Acceptable - Landscape Orientation and the product being sold is focused
Not Acceptable - Portrait Orientation and you cannot identify the item being sold. Crop if necessary but make sure resolution/dimension is still good
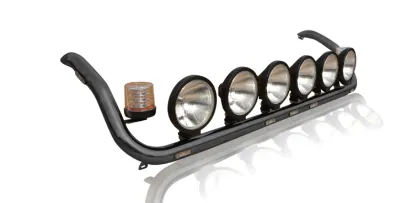
Free-Standing Photos (Items Not Fitted to Vehicle)#
Background
All pictures of product taken on the ground or not fitted to a vehicle require white background with reflection or shadow depending on the need.
Original
Edited - Should be in White Background with Reflection Orientation
Image should be in landscape orientation and should be centered.
Not Acceptable - Item not centered
Not Acceptable - Item not centered
| Not Acceptable - picture is cropped, the whole item is not shown | Acceptable - Product is properly centered |
|---|---|
| Figure 15 |
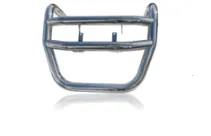
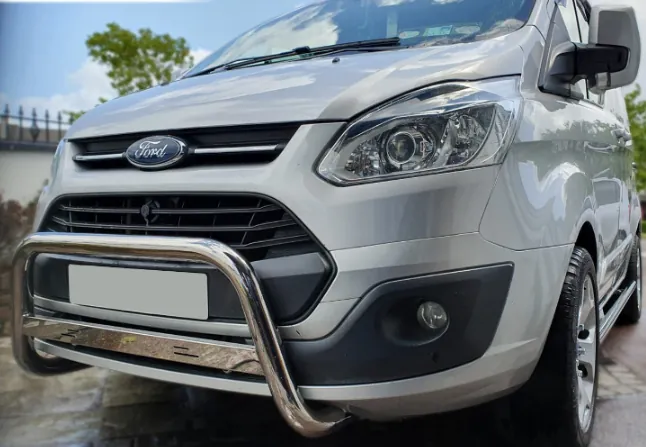
For Bull Bars it should be in correct position (See Figure 16 )
| Incorrect Orientation for Bull Bar | Correct Orientation for Bull Bar |
|---|---|
| Correct Orientation for Bull Bar | |
| Figure 16 |


Small Pieces in a Set
Small pieces like bolts and screws should not have reflections because this will blur the small items.
reflection
The brackets or small pieces should also be distinguishable, not too light

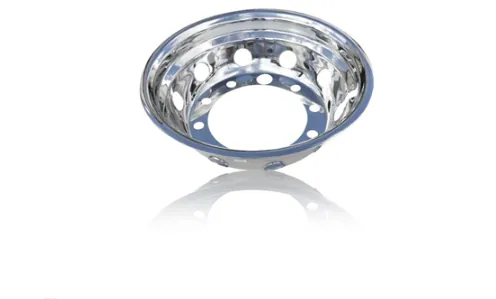
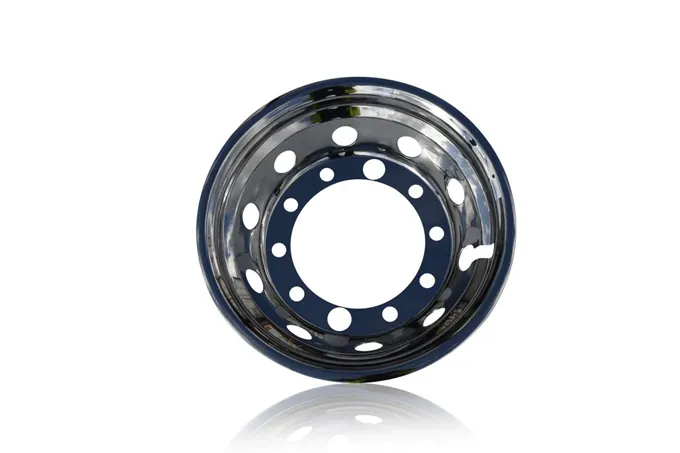
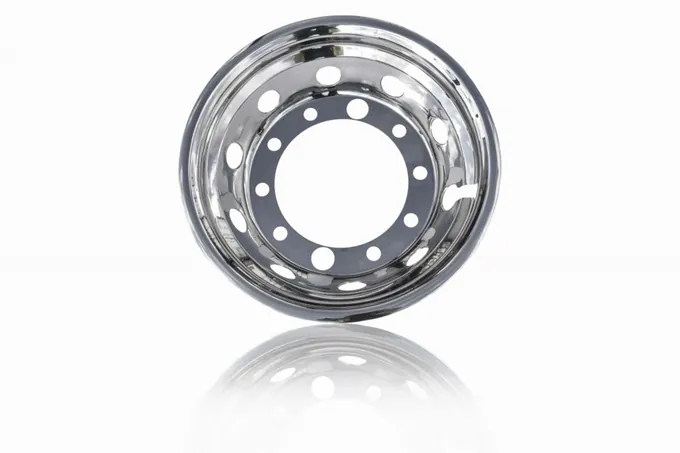
Chrome Items
Needs to be shiny with smooth surface. Not too bright or too dark that it would lose its chrome effect. This is for the chrome effect only (please do not mind if centered or not since the correct orientation is already discussed above). This is just to show what is
acceptable for chrome effects.
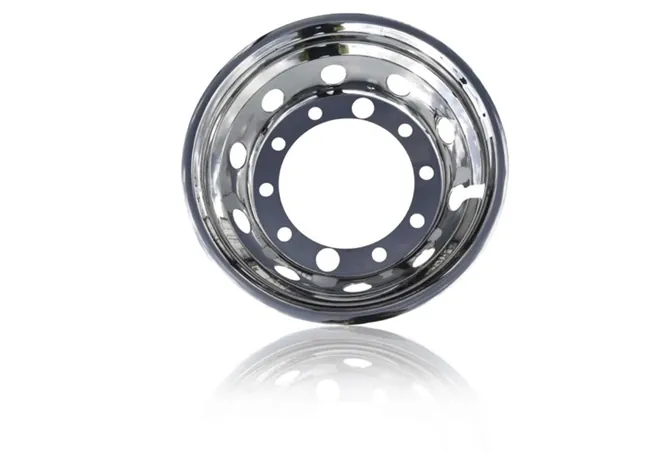
Not Acceptable - Too dark Acceptable - right balance Not Acceptable - Slightly Dark
| Not acceptable - too dark | Acceptable |
|---|---|
| Not acceptable - too dark | Not acceptable - too light (items are not well defined, it is hard to see the small pieces since it is very light already |

Not Acceptable - too light and no shine
Acceptable chrome effect
Acceptable - Shiny stainless look. No yellowish or orange tint.
Black Items
Black items should not appear too black where it loses its definition and looks like one solid item and lose its natural look. It should not appear edited.
Acceptable Not Acceptable - too light that it looks dark grey
| Not Acceptable - too light | Not Acceptable - too black |
|---|---|
| Not Acceptable - too black | Acceptable |
Acceptable - you can see the details and looks realistic
Acceptable edit on black items and small pieces (items are defined properly, looks realistic) - need to improve on orientation, needs to be centered.
Acceptable - Not too dark that you can’t see the detail of the item. Not that shiny. Looks matte.
Light Colored Items#

Acceptable - correct orientation, right brightness
Not Acceptable - portrait and very light
Brackets
All Stainless Brackets are not shiny stainless

Reflection
Remember that for small objects like bolts and nuts, there is no need to add reflection for it will blur the items. When adding reflections make sure that the reflection is inverted and looks realistic as it gives a better perspective compared to a shadow.
Not Acceptable - reflection too dark you Not Acceptable - reflection too dark cannot almost distinguish which is the you cannot almost distinguish which is original item. the original item.
| Acceptable - for black item, the reflection should also be black | Not acceptable - item is too black and the reflection is for a chrome item, reflection should also be black |
|---|---|
| Acceptable Reflection |
Edges
Edges of the item should appear straight.
| Not Acceptable - Edge should appear straight | Acceptable - straight edges |
|---|---|
| Not Acceptable - Not straight, too light |
Choosing Reflection or Shadow#
Using reflection is preferred but it depends also on the original image if needs to use shadow or needs to use reflection. Choose only one, either shadow only or reflection only.
USING SHADOW
Sample of edited image using shadow. Use this image shadow quality and color as reference. Very small items like bolt and nuts, no need to add shadow.

USING REFLECTION
Sample of edited image using reflection. Use this image shadow quality and color as a reference. Very small items like bolt and nuts, no need to add reflections.
Saving Edited Pictures#
Checklist Before Saving The Edited Pictures#
Pictures edited pass requirements mentioned above All pictures should be edited to remove scratches, reflections, dents, and imperfections, products and vehicles must look clean and dirt-free, and rust- free. Images should look brand new and sellable. These should look realistic, should not look edited, drawing, or 3D only. This ensures our products are showcased in the best way possible.
Reflection is preferred to use rather than a shadow but it depends on the raw image to decide what to use. Do not use both reflection and shadow, should choose only one that best fits the image.
Ensure to correct the lighting of the edited picture. Do not over-edit that will cause the picture to be too dark, too light, or lose its chrome effect. Ensure that even the smallest item in the picture is not blurry. All images must be HD. All logos and branding must be removed. Pictures over 4000pixels on the longest side should be saved at around 3500pixels on the longest side so the file size is not too large to upload to our web stores. Pictures below 3500pixels on the longest side should not be scaled up or image loss will occur. The image should be saved in jpeg and not more than 10MB size.
Where to Save the Edited Pictures#
Edited pictures are to be saved without watermark in the corresponding week “Edited Folder”. Don't change the filename from original folder.
Save it to the latest Week Folder. Please take note that folder must contain only 60 images. If the folder has 60 images already, create a new folder.
Edited Folder - Save Edited Pictures Here
Do not add Bragan logo for all new listings and update listings. And always add dimension image of items except for very small items.
Remove all text in the vehicle except for its make and model and ensure all plate numbers in the image are removed.

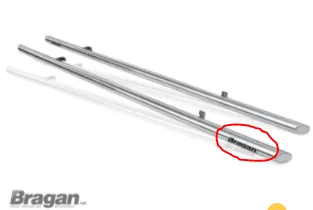
and 'Bragan' logo needs to remove as well which is attached to the item for sale.
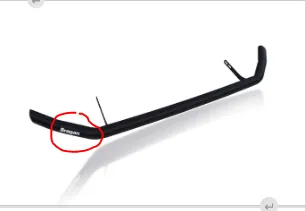
Product listers should use the images without Bragan logo Watermarked to list items to all channel websites.
Video & Media#
🎥 picture requirement training video 2 🎥 picture requirement training video
Notes#
This section is important so Adhoc points and issues can be logged. Also, Q&A can be logged for suggestions for potential issues encountered. Also, log important notes needed for this system. Additional Notes:
It is important to know the requirements for images so that there will be a quality images to be uploaded in the website to attract more customers to buy our product.
Filename in each image should not be change because these are the image sku codes so that the listers will know which sku should add the images.
Edited images should be save in edited folder in dropbox by photo editor, each folder has two kinds, one without Bragan logo and the other image has a Bragan logo and should create a 'watermarked folder' to put the images with logo.
There are two Bragan Logos, one will be used for edited pictures with colored background and another will be used for edited pictures with white background. Make sure to use the correct one.
All Stainless Brackets are not shiny stainless.
Should check the image and should be in landscape / horizontal position and not also slanting.
Must crop the image to make it landscape and see the product for sale. Please see the above image, black beside must be removed, should crop the image to see the product for sale and no slanting position. If the raw image is in a slanting position, kindly edit the image to landscape position, please refer to the above image position.
Check image: Picture Dimension required: 1280 / 960 minimum.
To check image properties that meet the minimum and maximum size requirements before editing. High-resolution image is less than 50kb (lower is better). For white background photos, it should be under 100kb.
Always check the blur effect requirement of images and should not be a too strong blur.
Photo editors should remove Bragan logo attached to any items like sidebars, running boards, roofbars, spoiler bars and etc.
No need to add Bragan logo for images for new listings / update listings moving forward by James - March 26, 2024
Potential Issues:
1 - ISSUE ENCOUNTERED: Stuck on Loading
RESOLUTION: Refresh Browser
2 - ISSUE ENCOUNTERED: Broken Links
RESOLUTION: Get the external link as this will allow other people to access the SOP without the need for login credentials and avoid broken links.
3 - ISSUE ENCOUNTERED: Chrome items don't look stainless and Black items look too black.
RESOLUTION: To know sop requirements so these items with low quality will not be uploaded to the website.