Editing SOPs in GitHub (with AI)
How Bragan's SOPs are stored in GitHub, and how to edit or create one using an AI — plus how departments (categories) work and how to add a new one.
Overview#
Purpose: This SOP explains where Bragan's SOPs live, how they are organised into categories, and how to safely edit one — on your own or by asking an AI to make the change for you.
The big idea — GitHub is the system. There is no separate CMS or login. Every SOP is a plain text (markdown) file in one GitHub repository. You edit the file, save (commit) it, and within about a minute it goes live automatically on the SOP website and the Slack assistant starts using the new version. Edit once, updates everywhere.
Note: Every change is recorded in GitHub's history with who made it and when, so nothing is ever lost and any edit can be undone.
1. Where the SOPs are stored#
- Repository:
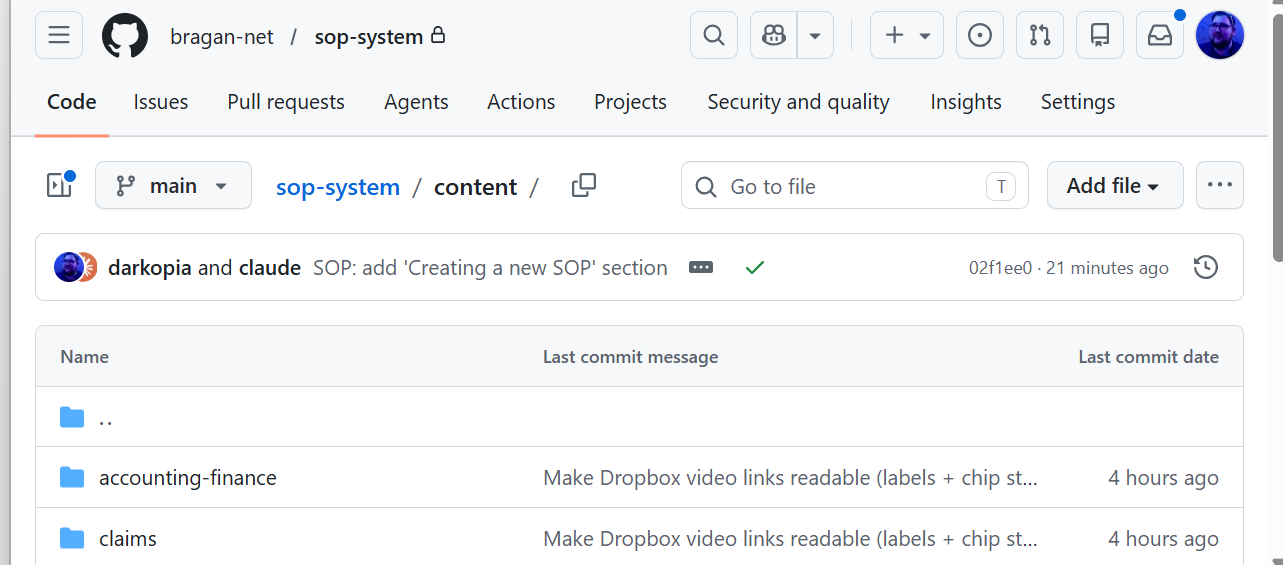
bragan-net/sop-systemon github.com (private — you need to be added to the Bragan organisation to see it). - The
content/folder is the source of truth. Everything under it is the SOPs. Each SOP is its own folder containing oneindex.mdfile (the guide) and animages/folder (its screenshots):
content/
  customer-service/            ← a department (category)
    dpd-queries/               ← one SOP
      index.md                 ← the guide text
      images/                  ← its screenshots
        fig-01-...webp
- The folder path is the web address.
content/customer-service/dpd-queriesbecomes…/customer-service/dpd-querieson the site. So the folders you see in GitHub mirror the menus on the website exactly.
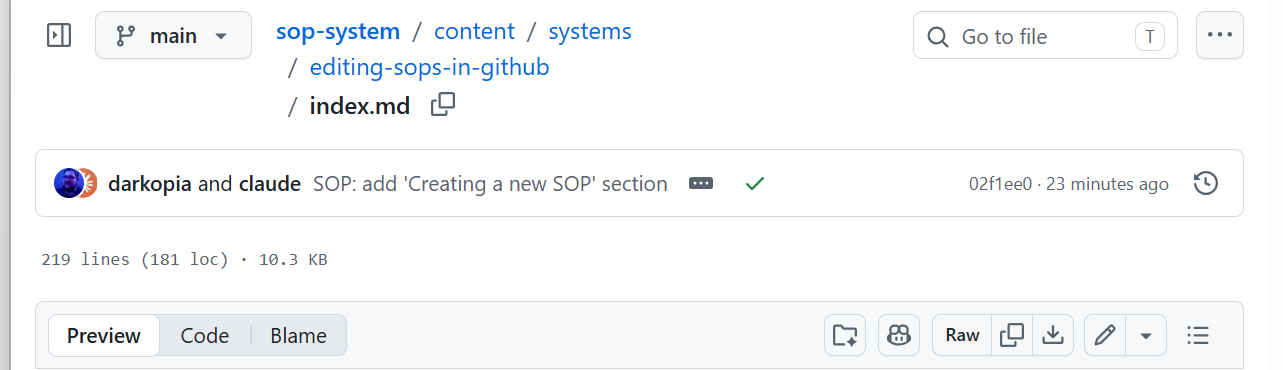
What's inside an index.md#
Each file has two parts: a settings block at the very top (between two ---
lines) and the guide body below it.
---
title: "DPD Queries"              # the page heading
department: "customer-service"    # must match the department folder
slug: "dpd-queries"               # must match the SOP folder
summary: "One-line description."  # shown on menus and used by the Slack bot
updated: "2026-06-14"             # optional, format YYYY-MM-DD
tags: [dpd, courier]              # optional keywords
---

## 1. First section
...the steps...
| Setting | Required | What it does |
|---|---|---|
title |
yes | The page heading. |
department |
yes | The category — must match the department folder. |
slug |
yes | The URL name — must match the SOP folder. |
summary |
yes | One line; shown on menus and used by the Slack bot. |
updated |
no | Date last revised (YYYY-MM-DD). |
tags |
no | Keywords that help search find the SOP. |
2. Categories (departments)#
Each top-level folder inside content/ is a category — what we call a
department. The current departments are:
| Folder | Shown on the site as |
|---|---|
accounting-finance |
Accounting & Finance |
claims |
Claims |
customer-service |
Customer Service |
fitting-guides |
Fitting Guides |
hr-recruitment |
HR & Recruitment |
office-operations |
Onsite Office Operations |
procurement |
Procurement |
sales-channels |
Sales Channels |
systems |
System to Make Systems |
trade-file |
Trade File |
warehouse |
Warehouse |
Rules for categories:
- A SOP belongs to whichever department folder it sits in. The
departmentsetting insideindex.mdmust match that folder name, or the site won't build. - Add a SOP to an existing category by creating a new folder for it inside
that department (e.g.
content/customer-service/my-new-sop/). - Create a brand-new category by making a new department folder and putting
SOP folders inside it. The site automatically adds a card and a menu for it. The
display name is title-cased from the folder name (
new-department→ "New Department"); if you want a custom name or icon, ask Ben to add it. - Naming: folder names are always lower-case with hyphens for spaces
(
customer-service,tan-payments) — no spaces, capitals or special characters.
Important: A SOP is filed by which department folder it's in, not always by its topic. If you can't find an SOP, use the search box rather than guessing the department.
3. Editing an SOP with AI#
The easiest way — and exactly how this guide was created — is to ask Claude (in Cowork, where it has access to the SOP repository) to make the change for you. You describe what you want in plain English; Claude finds the right file, edits it, and publishes it. You never touch markdown or GitHub's editor yourself.
- Open Cowork and start (or continue) a session connected to the Bragan SOP
repository (
bragan-net/sop-system). - Say what you want, in plain English. For example: - "In the DPD Queries SOP, change step 3b to say [new text]." - "Add a new SOP under Customer Service called 'Handling Lost Parcels' with these steps: …" - "Create a new department called Marketing and add an SOP about scheduling social posts."
- Claude makes the edit. It locates the correct
content/<department>/<slug>/index.md, updates it while keeping the settings block and formatting correct, and can show you the before/after. - Claude publishes it. It commits the change and pushes to GitHub, which auto-deploys. Within about a minute the website and the Slack assistant are updated — no other steps.
Tip: Ask Claude to "show me the change before you publish it" if you want to check it first, or "open a pull request instead" if you'd like someone to approve it before it goes live.
What Claude can do, just from your words: reword a step, add or remove steps, fix a price or detail, add a screenshot, write a brand-new SOP, or even create a whole new department — it handles the markdown, the folder layout and the naming rules in this guide so you don't have to.
Prefer to do it by hand? You can still edit index.md directly with the pencil
(Edit) icon in GitHub and commit — see the file layout in Section 1. Just keep the
settings block and the format intact.
4. Creating a new SOP#
Creating a new SOP is the same as editing — just ask Claude, and it builds the whole thing: the folder, the settings block, the body, and it files it under the right department and publishes it.
- Open Cowork (a session connected to the SOP repository).
- Tell Claude what you want, giving it three things: - which department it belongs in (or that it needs a new one), - a title, and - the content — the steps in whatever rough form you have (bullet points, a paste from an email, or just a description).
For example: "Create a new SOP under Customer Service called 'Handling Lost
Parcels'. Steps: 1) check tracking in Linnworks; 2) if no movement for 3 days,
open a courier claim; 3) reply to the customer with macro 214."
3. Claude builds it — it creates content/<department>/<new-slug>/index.md,
fills in the required settings (title, department, slug, summary), writes up your
steps, and gives the folder a tidy lower-case name from the title.
4. Claude publishes it — it commits and pushes; within about a minute the new
SOP appears on the website under its department, becomes searchable, and the
Slack assistant can answer from it.
Tip: You don't need polished wording — give Claude the gist and ask it to "write it up as an SOP". You can request tweaks in plain English before or after it goes live.
Creating a new department (category) is just as easy — say "create a new department called Marketing and add this SOP to it". Claude makes the new department folder and the website automatically adds a card and menu for it. (If you want a custom display name or icon for the department, ask Ben to set it.)
Screenshots: mention them as you describe the SOP ("add a screenshot of the tracking screen at this step") and either drop the image file in afterwards or ask Claude to place it. Until an image is added the page shows a tidy "screenshot pending" box, so the SOP still reads fine in the meantime.
Prefer to do it by hand? Create a new folder under the right department, add an
index.md with the settings block from Section 1, write the body starting at
## 1., and commit. The site picks it up on the next build.
5. Keeping edits safe#
- Keep the settings block (the
---…---at the top) and its required lines (title,department,slug,summary). The site refuses to build without them — which is a safety net, not a failure. - Don't change
departmentorslugunless you also rename/move the folder to match. They have to agree. - The body starts at
## 1.— don't add a big#title at the top; the title comes from the settings block. - Screenshots: reference one as
and upload the image into the SOP'simages/folder. If the image isn't there yet, the page shows a tidy "screenshot pending" box, so you can write first and add the picture later. - Editing directly on
maingoes live immediately. If you want it checked first, create a branch / pull request instead and ask someone to review.
6. What happens after you commit#
- GitHub tells the server (Railway) that a file changed.
- Railway rebuilds the website from
content/and redeploys it. - The web portal shows your update (~1 minute).
- The Slack assistant reads the same
content/files, so its answers update too.
Warning: Only ever edit files under
content/. The live website pages are generated automatically fromcontent/— editing them directly does nothing and is overwritten on the next build.